
Prerequisites
- Firm grasp of development (spotting bugs, reading error messages etc)
- Valid editor for .php and .js files.
- About an hour or so depending on your skill level.
WARNING: Parts of this guide will be forcing you to make changes to your code, if you update from a central source your changes can/will be overwritten. Check any version control you may have. Guide writer accepts no responsibility for your pool.
Notes:
I will be skipping over the Pool setup, and PHP set up. I’m going to assume you’ve already got those running.
Step 1 – Create your Discord webhook
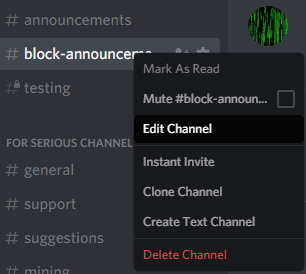
In your discord server, right click on a channel you’ve created for receiving block announcements and select “Edit Channel”.
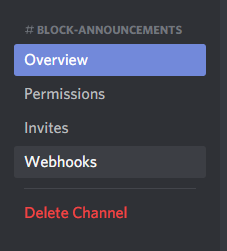
Once in, select “Webhooks”
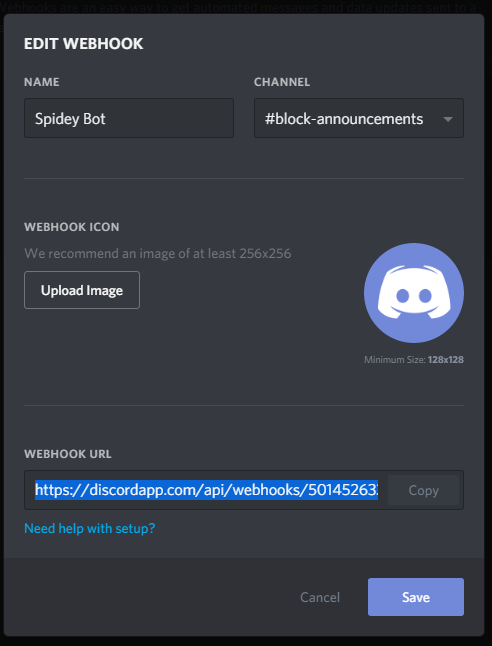
Click “Create Webhook” and save the “Webhook URL”, we’ll need this soon, feel free to rename the bot and give it an icon at this point.
Step 2 – Set up your PHP file.
One of the smaller steps, the creation of the PHP file that your NodeJS pool will talk to.
<?php

$post = false; // Weather or not we have data to send

$coin = ucfirst( $_POST['coin'] ); // Sets the name of our coin.

if( isset( $_POST['time'] ) )

$time = floor( $_POST['time'] / 3600 ); // Time in seconds to hours

else

$time = 1; // Assume 1 hour block unlock time

switch( $_POST['type'] ) { // What's the message type?

case "find": // We found a block!

$data = array(

"content" => sprintf(

"%s block [%s] found by %s, at %s effort. Unlock in ~%s hours.", // Our message string, the '%s' will be replaced by the following variables

$coin, // This is the coin name

substr( $_POST['miner'], 0, 6), // This is the first 6 characters of the miners' address. Add more characters or not, up to you!

$_POST['effort'], // Our effort variable

$time // Estimate of unlock time

)

);

$post = true;

break;

case "orphan": // Lets hope we never get this.

$data = array(

"content" => sprintf(

"%s block [%s] was orphaned. No payout possible.", // Our message string, the '%s' will be replaced by the following variables

$coin,

$_POST['height']

)

);

$post = true;

break;

}

if( $post ) { // Do we have a message?

$curl = curl_init("%YOUR WEBHOOK URL%"); // This is where you would put in your Webhook URL

curl_setopt($curl, CURLOPT_CUSTOMREQUEST, "POST"); // Just ignore this

curl_setopt($curl, CURLOPT_POSTFIELDS, json_encode($data)); // Just ignore this

curl_setopt($curl, CURLOPT_RETURNTRANSFER, true); // Just ignore this

curl_exec($curl); // Just ignore this

}
And that’s it! The PHP file is done! Name it something suitable, preferably something not easily guessable, and upload it to your web server. (Not that people will know where it is anyway!)
Step 3 – Edit your pool files
This step will involve some guesswork, hoping you know enough about code to read where the following needs to go.
First of all, we need to add “request” to the pools Node modules.
In Putty/Terminal, in the folder of your pool, execute the command npm install request
After that is complete, you should have a “lib” folder, inside that folder, edit the file “pool.js”
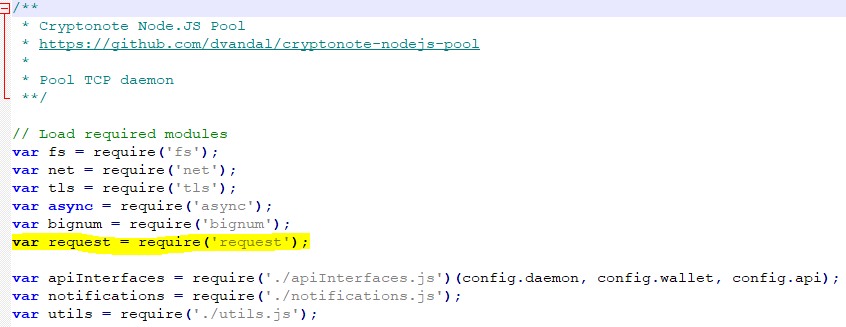
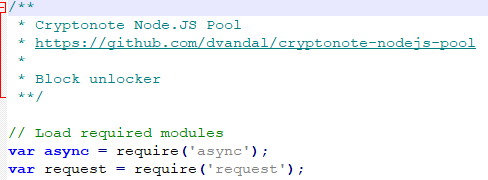
At the beginning of the script, somewhere around the other “require()“s, we need to add “request“.
var request = require('request');
Now, this is the tricky part, we need to find the location in the code where blocks are reported to the database as “found”.
In the dvandal pool link this is located around like 802, you can see the IF statement for a potential block.
We want to skip down below that, and passed the database queries, but before the “notifications.sendToAll“, and insert the following code:
request({

uri: "https://aussie-pools.com/alert.php", // The URL to your original PHP script.

method: "POST", // Ignore this, but necessary

form: { // Setting up our form

coin: 'Triton', // Name of our coin

miner: miner.login, // Using the miner.login variable here to send to the server

height: job.height, // The height of the job.

type: "find", // What type of notification this is (find)

effort: ( totalShares / blockTemplate.difficulty * 100 ).toFixed(1) + '%', // a percentage calculation of the effort

time: config.coinDifficultyTarget * config.blockUnlocker.depth // A time estimate, based on the depth required to unlock, and block time

}

});
Once we’ve inserted this text, it should look something like this.

Pay extra attention to the blue arrows. These are there to determine if the syntax of your command is correct. (You’ve copied it properly).
Part 3a – Editing pool files, blockUnlocker!
Onto the next part. The unlock message!
Once again, in your libs folder, you’ll find “blockUnlocker.js“, lets edit that!
Most of this will be a repeat of the previous step. So once more, beginning of the file, add the request code.
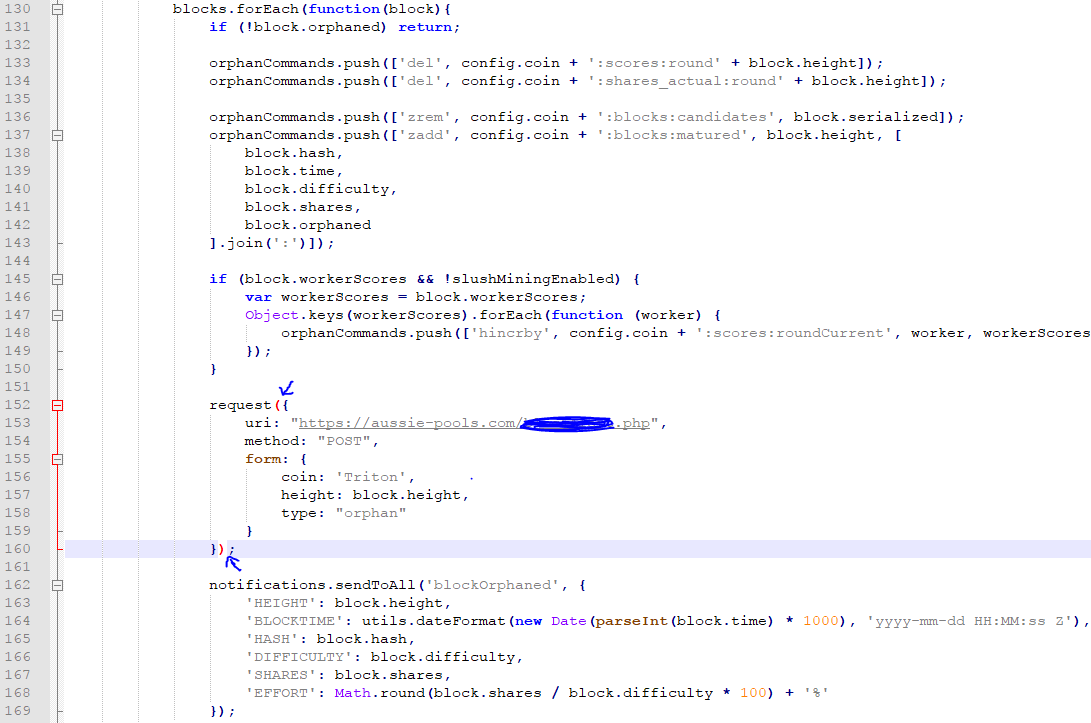
Now we need to find where orphans are detected and dealt with, and we’ll find that around line 131, where if the block is orphaned the code is executed.
In this same block, around line 155, we see another “notifications.sendToAll“, so above that, we’ll place our own code again.
request({

uri: "https://aussie-pools.com/alert.php", // Your URL again

method: "POST",

form: {

coin: 'Triton', // Coin name

height: block.height, // Orphan height

type: "orphan" // Message type

}

});
Once more, it should look like this:
Save and upload the files to the pool.
Part 4 – Restart your pool code
Restart your pool, I personally use pm2.
Part 5 – Check logs
Check your logs for any errors. Missing “;“, “)“, or any combination of the above.
Part 6 – Wait
Wait for the first block to be found, hopefully it won’t be long.
Good luck!
If you found this guide useful, feel free to send some love at the addresses below:
BTC: 1KBy7ysa5kREWBhdezGJJwEiRCZRtgfPPu
ETH: 0x3085307B7c43C4CC64f439e35cA85D98ba6DA618
DOGE: DAU72uR1qufAygzyx27iGd2wqn3AwShroh